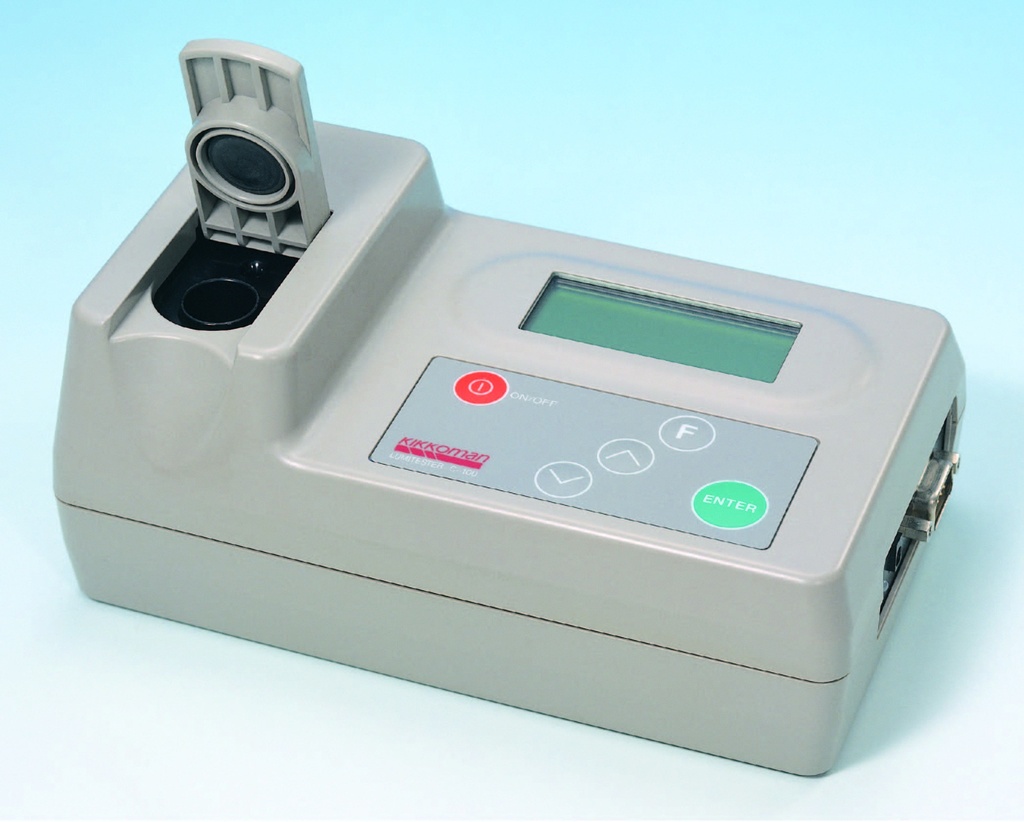
Lumitester C 110
- Fast results
- ATP methodology
- Small footprint device
| Verpackungsgröße: 1 Stk. |
High sensitivity: Using a special reagent enables ATP measurement at 1×10-12M (0.05 pg / assay)
Wide measurement range: ATP amounts can be measured over a wide range of 1×10-12 to 3×10⁻⁷M
Quick and simple measurement: Just pressing one key starts measurement and the result is displayed in 10 seconds (when in STANDARD mode)
Advanced measurement: An advanced mode is pre-installed.This enables measurement time and delay time settings, and consecutive measurement, which are suitable for highly preofessional biochemical research use.
Calibration curve input: The dedicated utility software allows creating and registering a calibration curve
Convenient data processing: Measurement data can be transferred to the PC to print out and for data processing
1 x Lumitester C 110
1 x Tube stand
1 x AC adaptor
1 x RS-232C cable
1 x Instruction manual
1 x Utility software
Test duration: 10 sec. in STANDARD mode
1-1000sec. in ADVANCED mode
Detection method: Photon counting mode using photomultiplier tube
Detection Range: 1.0×10⁻¹⁷~1.5×10⁻¹²molATP (With CheckLite HS Set reagent (without ATP elimination)
1.0×10⁻¹⁶~3.0×10⁻¹¹molATP (With CheckLite 250 Plus)
Sample tube size: 12*55 mm
Sample volume: 0,1 mL
Display: LCD (Liquid Crystal Display) panel
Software: Utility software for data collection and standard curve settings
Data Storage: 1000 pieces of data
Power: Rechargeable battery (NimH) or AC adapter
Size: 185 W ×110 D×75 H mm (excluding projecting parts)
Weight: Approx. 700 g
Storage -10 to +50℃, Operating +5 to +40℃/No condensation
The LUMITESTER C-110 can be operated in STANDARD and ADVANCED modes for making measurements.
STANDARD mode:
Measurement results are displayed in units of RLU (relative light unit), M, pg or CELL which are selectable. Measurement time is fixed to 10 seconds.
Turn the power on and hold down the key until the message at the right appears.
After 2 seconds, the current date, time, and remaining battery level are displayed. The remaining battery level (The remaining battery level is not shown when the AC adapter is connected.)
The MAIN MENU screen then appears. Select STANDARD mode
Put the sample tube into the measurement chamber.
Caution: Don’t push down the sample tube when the cover is open. Doing so may allow penetration of the strong light into the inside of the unit and may damage the photomultiplier tube.
Start measurement and wait until measurement is over (until the center digit counts down to “0”). When a printer is connected, the measurement results are also printed out.
In units other than 'RLU', the measurement results below the BLANK value are displayed as ND (Not Detected).
Press the key to turn the power off. The machine beeps if the sample tube is still not removed.
ADVANCED mode:
On the MAIN MENU screen, select the ADVANCED mode and press the key.
Measurement starts under the start delay and measurement time conditions which are set by 'MEASURING TIME' function routine. Wait until measurement is over.
In ADVANCED mode, the measurement data is always displayed in RLU units regardless of which measurement unit is selected.
Follow same steps (d to g) as in standard mode to make measurements.
